Chama Account Settings
Digichama empowers you to manage your chama's (group's) settings, allowing you to tailor the platform to your group's specific needs. Here's a comprehensive guide to navigating the account settings on your chama dashboard:
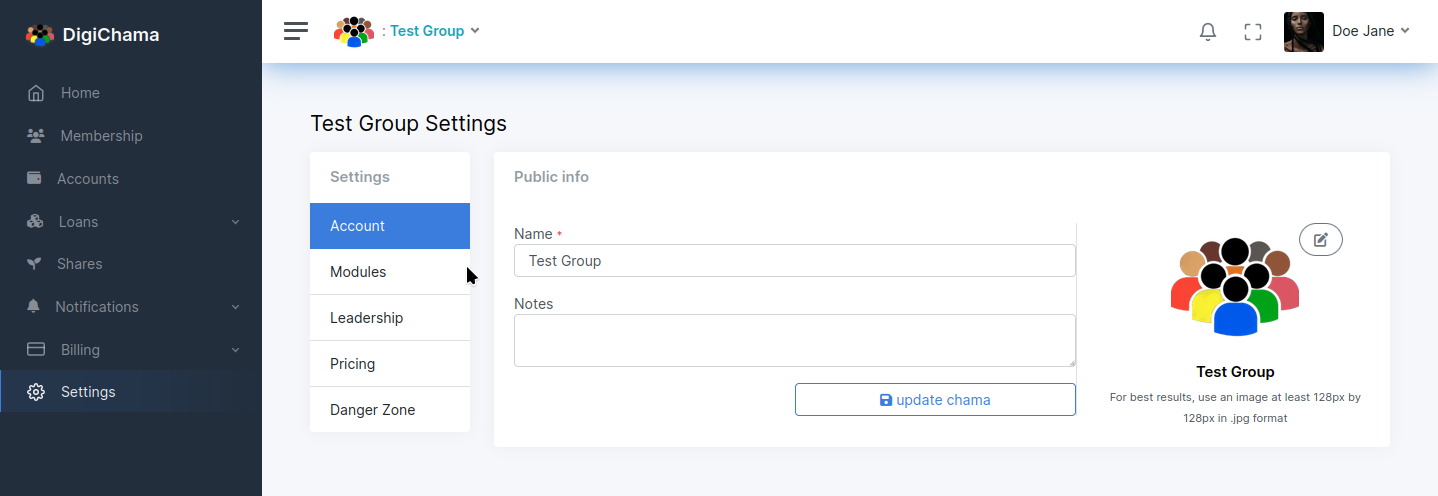
Accessing Account Settings
Open the Digichama platform and log in to your account. Ensure you're on the dashboard of the chama you want to modify. Locate the menu on the right side of the dashboard.
Finding the Settings Option
Within the right-side menu, look for an option labeled "Settings". Click on this option to be directed to the chama's account settings page.
Update Group Information
The account settings page allows you to edit your chama's basic information. Here's what you can modify:
- Name: Edit the name of your chama if needed. Choose a clear and concise name that accurately reflects your group.
- About: Update the description of your chama's purpose and goals. This helps new and existing members understand the group's objectives.
- Logo/Icon: If you want to change your chama's visual identity, you can upload a new logo or icon here. Select an image from your device or use your camera to capture a new one.
Refining Your Chama
By following these steps, you can easily update your chama's profile information and ensure it accurately reflects your group. This not only enhances clarity but also provides a more personalized experience for your chama members.
It's important to note that while the current version allows you to modify basic information in account settings, future updates might include additional functionalities within this section. Keep an eye out for new features that might allow you to further customize your chama's settings on Digichama.